I bought my SR22-G2 GTS in the June of 2013. By that time the airplane was almost 7 years old and in pretty good condition. Over the years I have improved many technical aspects of the plane, including a complete set of new avionics, a new interior, Beringer brakes, the 4-blade prop.

But I was never completely happy with the exterior. First of all i did not care much about the 2006 graphics. I always thought the “SR22 GTS” logo on the tail was ugly.
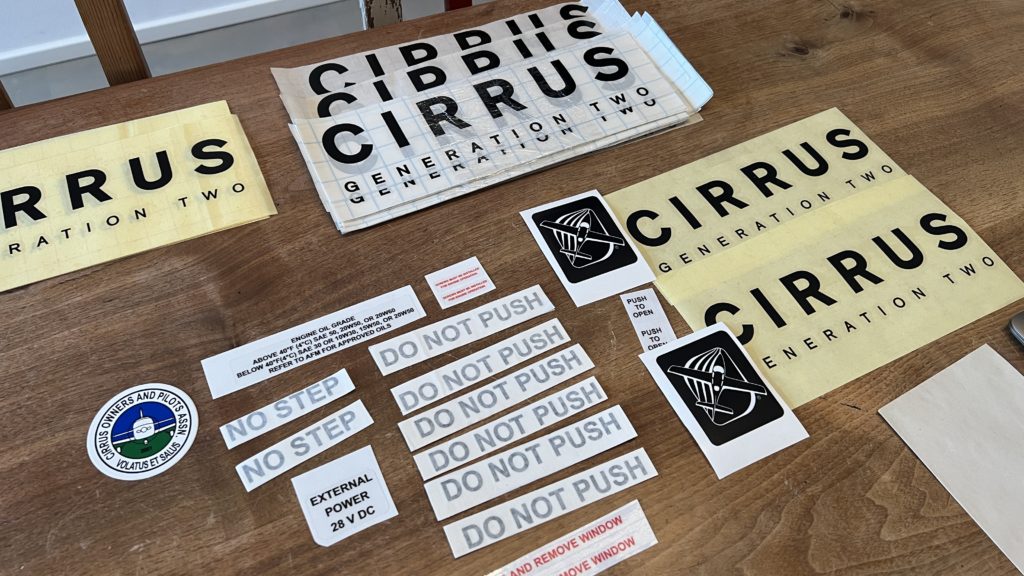
Over the years I improved many of the little graphical details: Is started with removing the old fashioned “CIRRUS” logo on the cowling and replacing it with a custom designed “CIRRUS, GENERATION TWO” and the Cirrus logo, similar to what Cirrus used on the G3 model.
Over time I also replaced many of the technical decals on the airplane with higher quality ones: NO PUSH, NO STEP, DO NOT PUSH, and all the small decals on the airplane that have faded over time or were damaged otherwise. It is easy to replace these technical decals. You make photos, take measurements and make them in Photoshop, Illustrator or any similar design app (Corel Draw, InDesign). And today you can simply upload the files to online shops and they make the decals for you. I mostly use flat black ORACAL car/outdoor foil and I prefer individual letters on a carrier foil and not prints on transparent foil. It just looks nicer and all that stuff costs little money.
In 2021 I took the original design to the next change. The chrome stripes and also the logo on the tail had faded and were also damaged in some parts, so i decided to take them off and replace the chrome parts of the design (only). It was hard work to take off the decals. After trying several tools (and scratching the paint in several places…) I bought a plastic blade on amazon, which worked much better than a steel one, especially in combination with heating up the decals with a hair dryer.
We replaced the damaged chrome stripes with new ones cut out from high quality chrome foil (Avery “Diamond Silver”) but it was a lot of work to copy the shape of the original stripe.
- Put transparent paper over the stripe and copy the shape with a pencil
- Cut out the shapes and transferred them to cheap plastic foil
- Then I glued all the different parts on a big piece of paper and let a copy shop nearby scan the whole thing in 100%
- Of course the shapes were anything but perfect but we improved all the lines in Adobe Illustrator and saved the resulting vectors as an .ai file
- A car wrapping shop cut out all the stripes and they also put them on after I had thoroughly cleaned the fuselage
The new logo on the tail was created by my designer wife. We first invented some designs that looked more technical but in end I decided for the nice “handwritten” logo she had come up with.

I really liked that “intermediate design” a lot and I flew the airplane like this for 1.5 years until I realized that I wanted a complete remake. Also: While the airplane looks perfect in these photos it has many scratches, dents in the wings and some heat damage on the cowling coming from the exhaust.
2022-2023 – Repaint at AAS, Augsburg Air Service
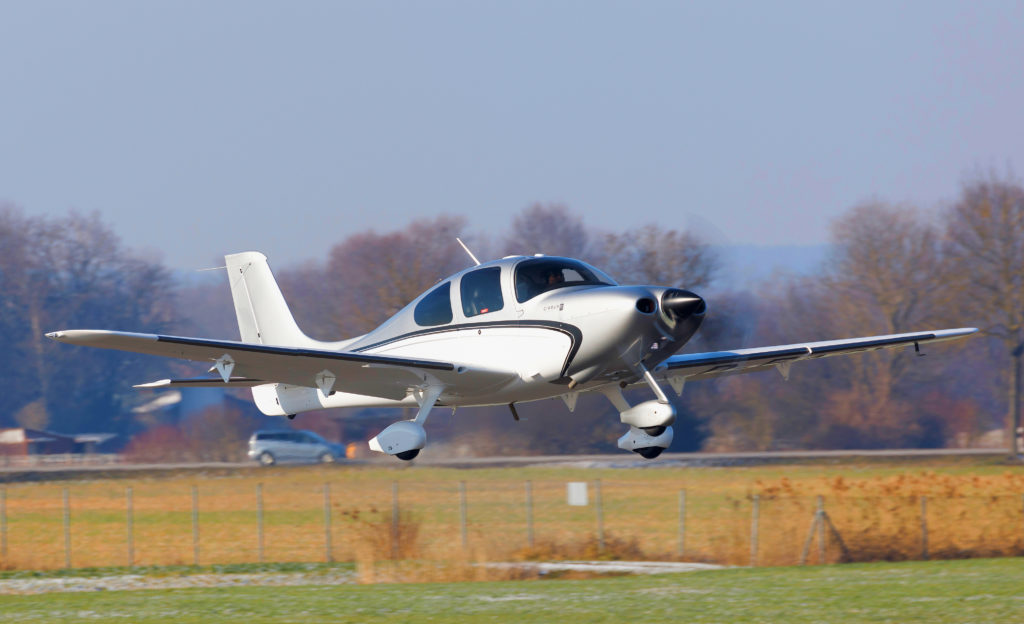
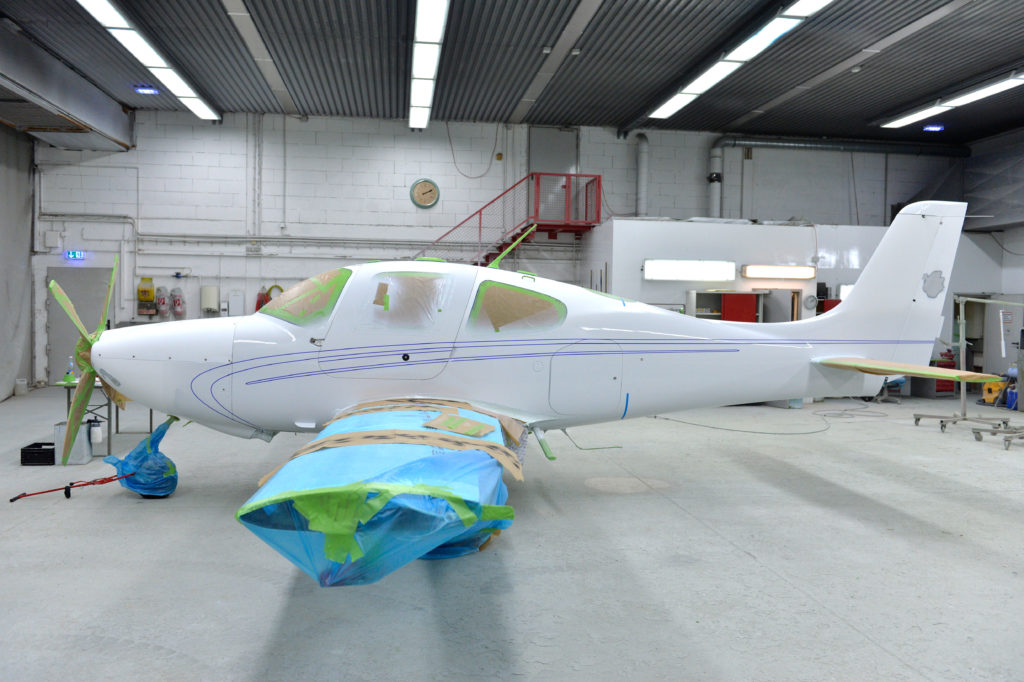
The one design I always liked was the 2012 version of the Platinum paint scheme in silver/blue, silver/red and silver/white. After looking at many photos I decided to get the airplane repainted in the winter of 2022 and I reserved a slot in the paint shop of my local Cirrus Service Center, “Augsburg Air Service”. AAS has been around for many decades and before they started maintaining business aircraft and a long time before they became an official Cirrus Service Center they were a very well known and successful Beechcraft dealer.
After a meeting with Markus Poeschel (AAS piston engine manager), André Westphal (the AAS maintenance manager) and the Robert Lemke who is in charge of the paint shop we decided to go with the Platinum paint scheme from 2012 in Cirrus “Snow White” and “Sterling Silver”.
This was the task list:
- Take off elevators, ailerons, flaps and rudder
- Remove doors and all inspections covers
- Remove cowling
- Sand down existing paint and prepare surfaces for painting with prescribed materials from maintenance manual
- Paint lower part of airplane in Snow White plus clearcoat
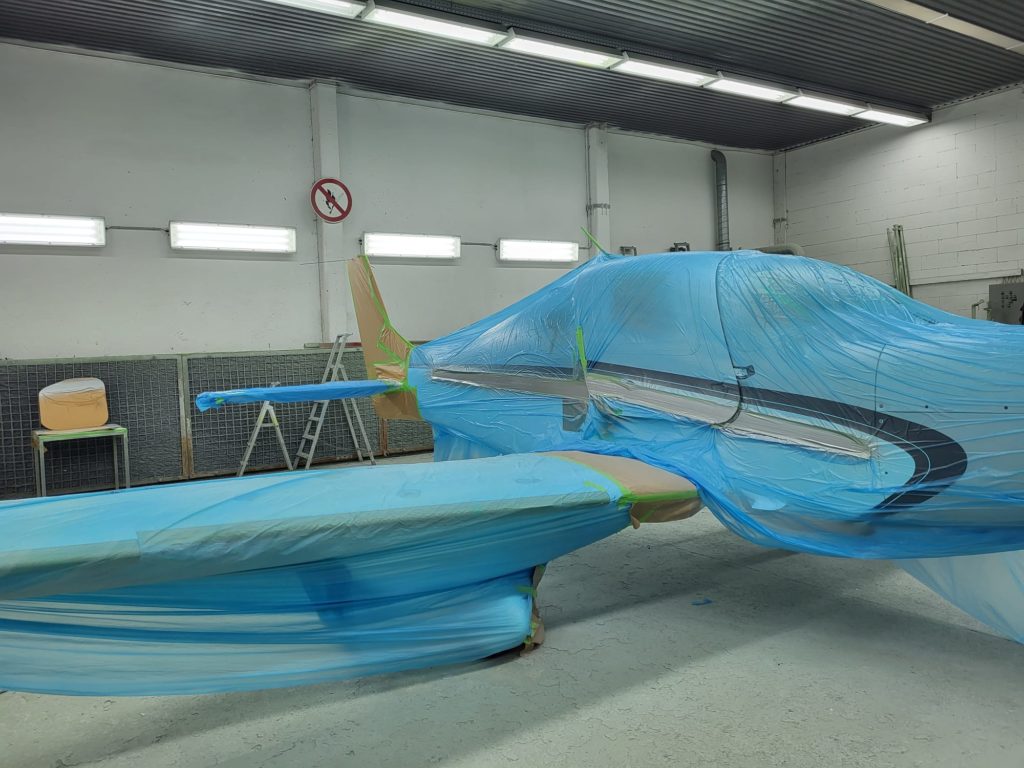
- Use tape to create the striping of the design (very time consuming!)
- Paint upper part of fuselage and nose landing gear parts in Sterling Silver plus clearcoat
- Paint one stripe in matte black, one on metallic black and the third one in Sterling Silver
- Paint insides of the doors and the mounting surfaces of the cowling
- Repaint spinner in matte black
It is really time consuming work to create the striping. The lines along the fuselage are very long and even a slight imperfection will be visible. We had to try that several times. When Robert had a final version I made a digital photo and put it over a photo of the original design in Photoshop. This way I could see small details that were not perfect – but it was surprisingly close! While I worked on this I realized that not even the factory painted planes are all the same – and they use decals for the stripe, while we painted them on for a better result (and because the decals are over 4000 dollars!)

After all the painting was done there was still a lot of work to do:
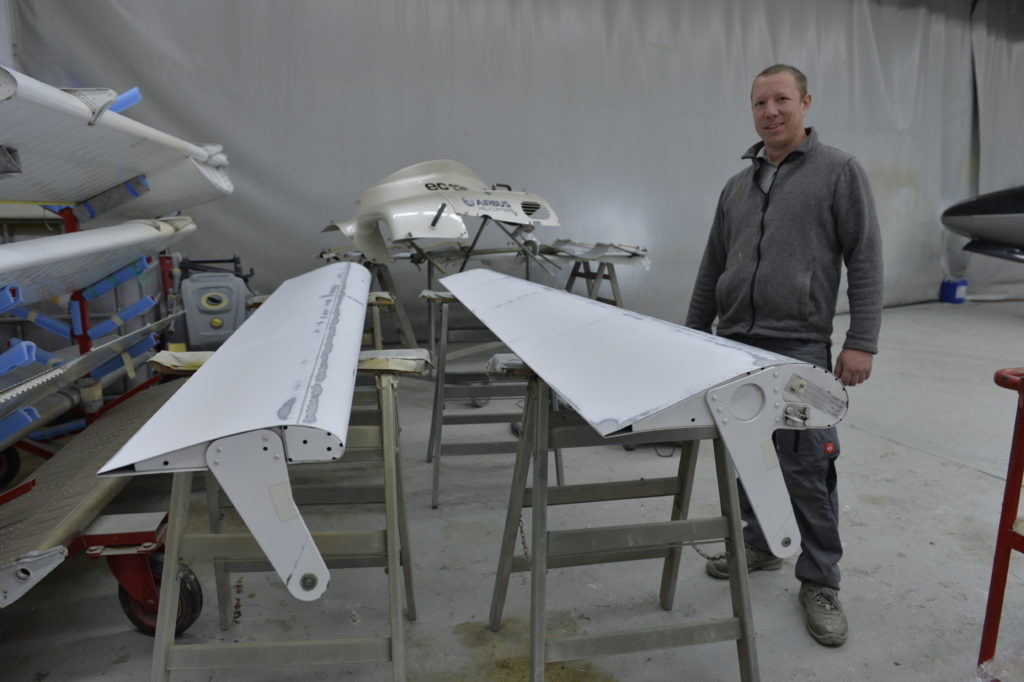
- Balance ailerons, elevators and rudder (flaps need no balancing)
- Mount control surfaces, safety wire and check them for correct function
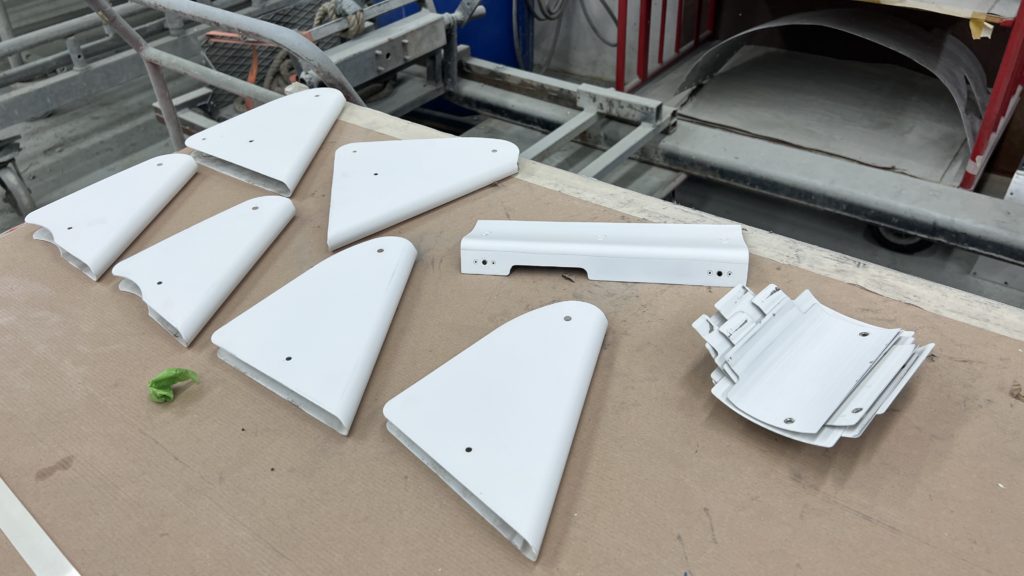
- Mount wing tips and elevator tips (all new screws)
- Mount plastic fairing on bottom of rudder
- Mount inspection covers, oil door, spinner, doors and baggage door, adjust doors.
- Mount wheel fairings and wheel pants (we changed the two main tires too)
- Glue on aileron gap seals (procedure with special glue)
- Install wingwalks and seal the edges
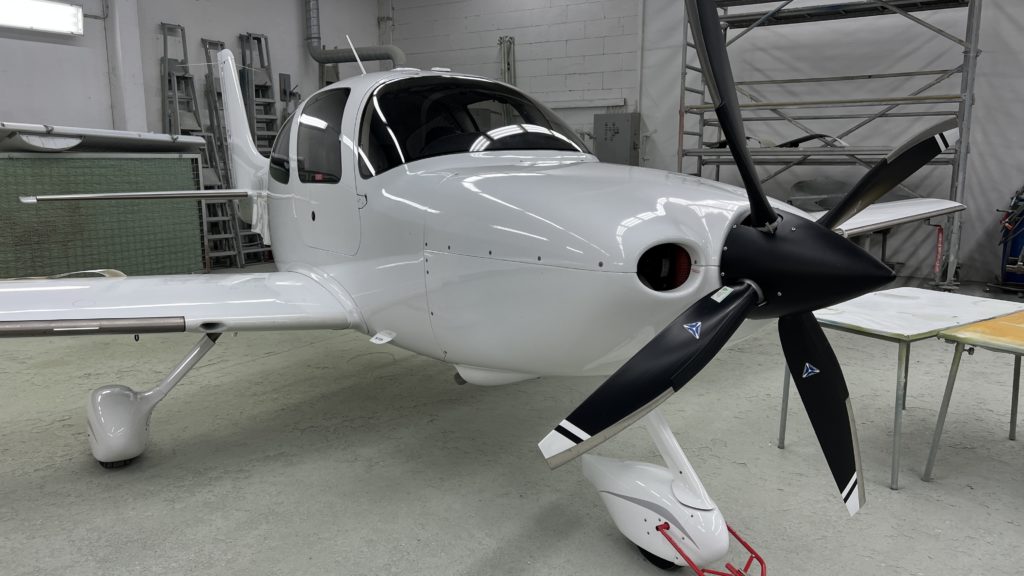
- The complete airplane was sanded with 2000 and 300 grid wet paper and then polished
- Install protective foil on inner wing and next to wingwalks
- Install all technical decals, logos etc. (i made custom decals and installed them myself)
- Install the run strips on the flaps
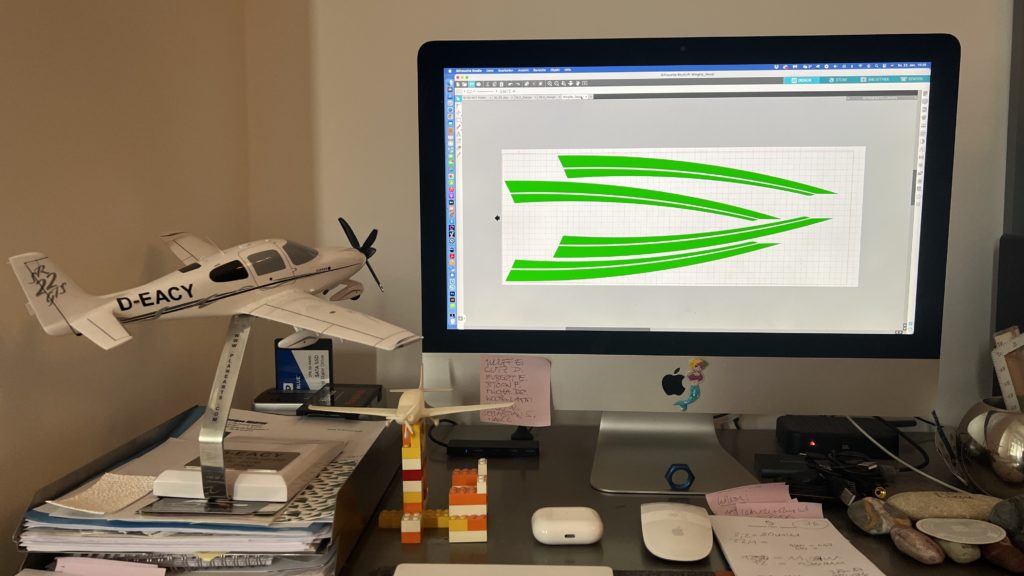
- Installation of self-designed wingtip stripes

When everything was finished we tried to improve the details as much as possible:
- Paint tiny imperfections with a fine brush
- Cleaning and polishing of windows, using “Plexus” window cleaner
- Sealing of all antennas with white silicone
- All cowling camlocks replaced with stainless steel camlocks
Then the airplane was finally ready and all there was left to do was to clean the inside (there was remarkably little dust inside!) … and … pay the bill!